Install Attack of the B-Team

Step 1

Installing a modpack using the Technic Launcher is easy. If you don't already have the launcher downloaded, visit our download page to get the latest version.

Step 2

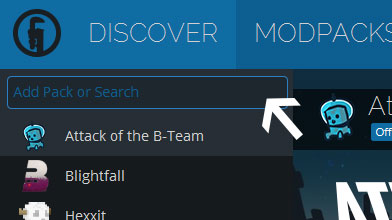
Type in the modpack name (Attack of the B-Team) or paste the following url into the search box.

Step 3

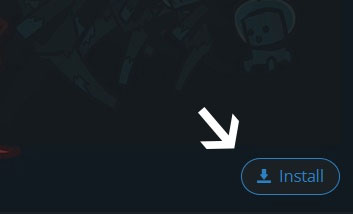
Finally, click Install at the bottom right of the launcher after you select Attack of the B-Team from the list on the left. The launcher will handle everything else!

Attack of the B-Team

by sct
Version 1.0.12c • Minecraft 1.4.7 • uses Technic Solder
Lumy Skin Patch has been updated to 1.0.13 so skins should be working again. Existing modpack builds were updated to the fixed version.
Pyker Pyker in Attack of the B-Team ·

Comments

After the update, my skin refuses to show at all. Instead the only one is the Steve skin. Please fix. (This started when you added the Lumy skin patch)
SunsetTheGlamour SunsetTheGlamour ·
Please update 1.0.13d so I may use my skin I love the Witchery mods and 1.0.13 is the only version that has the most of the witchery mod however I cannot use my skin even though it says its been updated
NovaReady NovaReady ·
Replies
How to add your custom skin in the modpack : 1- Take your skin file (in .png format) and resize it to 64x32 pixels — this is the correct size for this Minecraft version. 2- Rename the file to steve.png. 3- Then, go to: C:\TechLaunch\modpacks\attack-of-the-bteam\bin 4- Inside this folder, you’ll find a file called minecraft.jar. Open it with 7-Zip (or any archive manager). 5- Navigate to the following folder inside the archive: minecraft.jar\assets\minecraft\textures\entity\ 6- You’ll see a file named steve.png there. Delete it, and drag and drop your new steve.png into this folder. That’s it — your custom skin should now appear in the game!
Bexal Bexal ·
Latest Update
Lumy Skin Patch has been updated to 1.0.13 so skins should be working again. Existing modpack builds were updated to the fixed version.